- Home
-
Solutions
-
Leak Seal
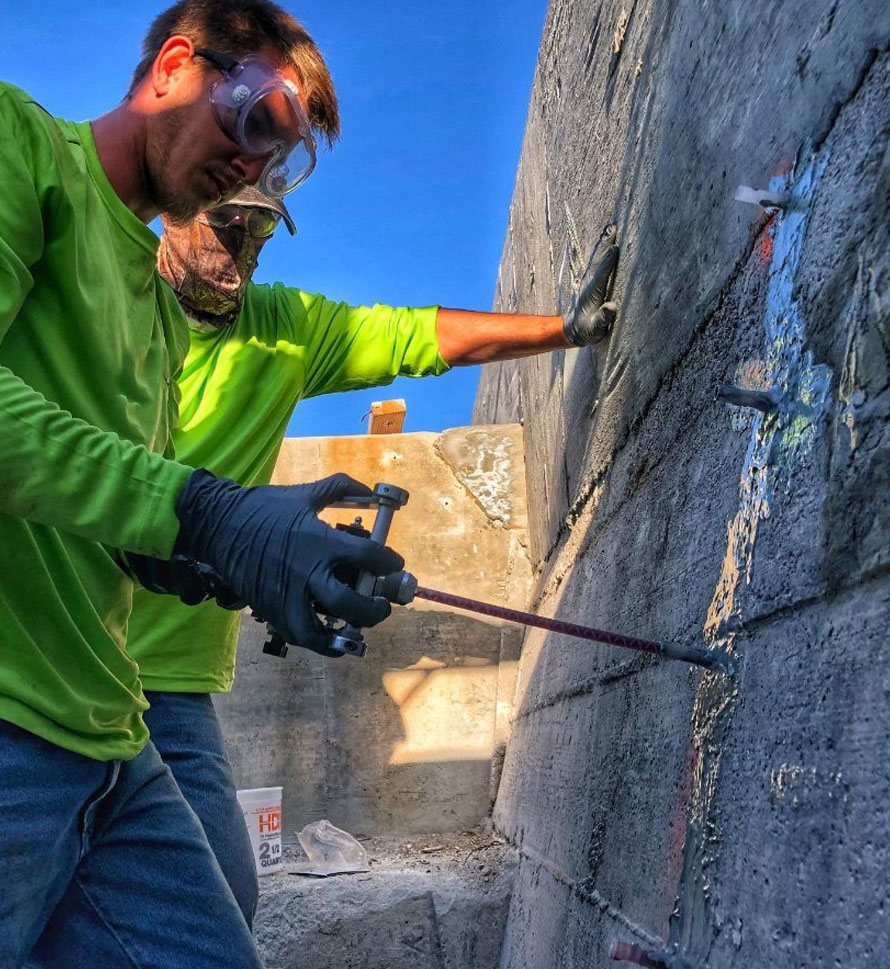
Seal leaks in concrete or masonry with crack injection and curtain grouting of our Prime Flex polyurethanes and AR acrylate resins. Prime Resins offers superior solutions for stopping leaks in every type of environment.
Read More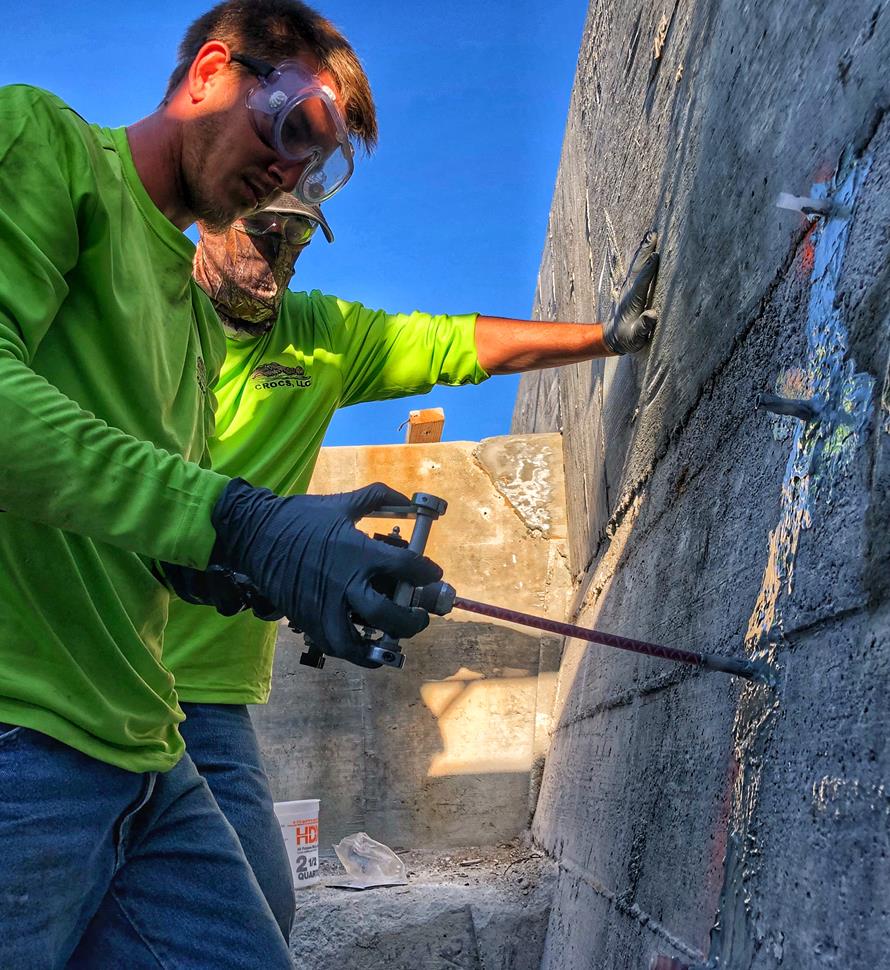
-
Soil Stabilization
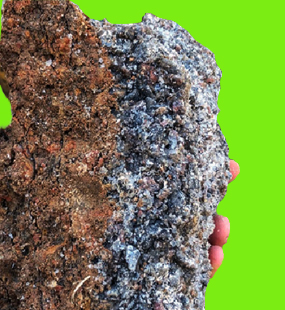
Sound concrete relies on a sound substrate. Stabilize soils and fill voids with our polyurethane and acrylate foams and gels. We make chemical grouts for permeation and compaction grouting in wet and dry conditions.
Read More
-
Slab Lifting & Stabilization
Slab lifting and slab stabilization with polyurethane foams offers many advantages over traditional mudjacking. Only Precision Lift is engineered to tackle underlying issues and slab lifting with precise, dependable results.
Read More
-
Floor Repair & Joint Protection
Spalled concrete is concrete that is chipped, cracked and deteriorating. This often happens at a joint.
Read More
-
Seawall Repair
You can repair a seawall or bulkhead with Prime Resins chemical grouts: fill voids, stabilize loose soil and seal leaks at a fraction of the cost of wall replacement.
Read More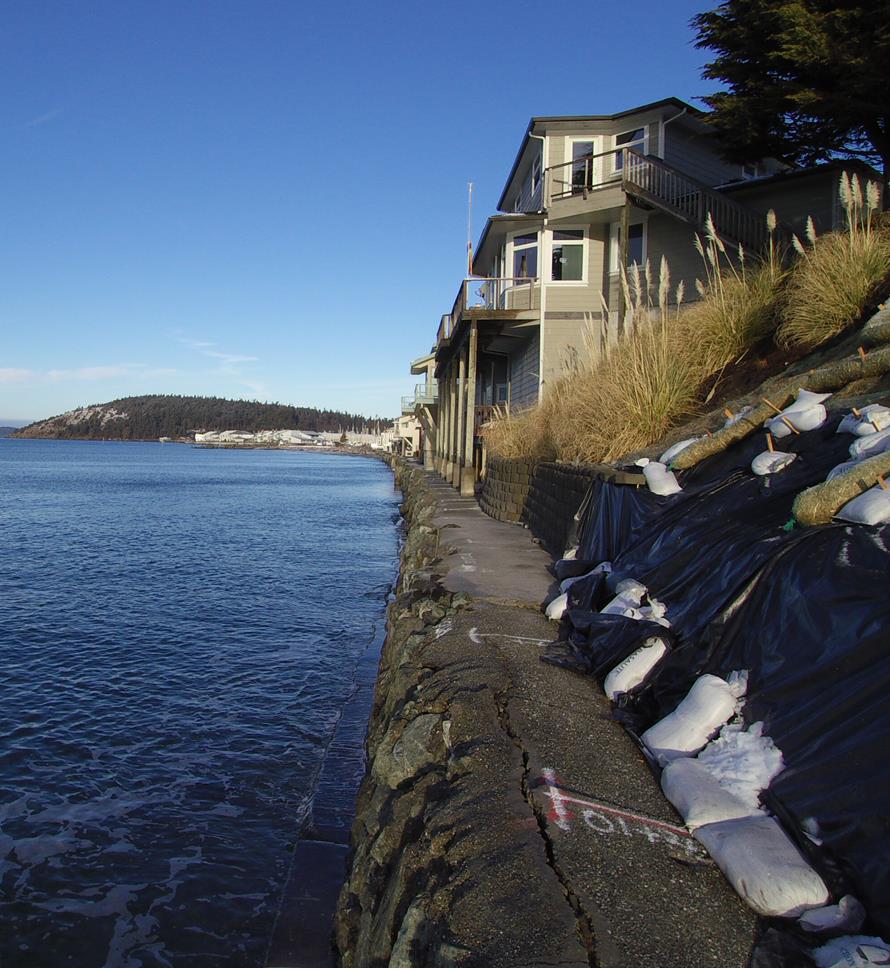
-
Structural Repair / Bonding & Anchoring
The need for crack repair in concrete structures can be caused by many different factors. Damage can occur to the concrete in situations where direct impact puts stress on one area of the structure.
Read More
-
Highway & Bridge
The geotechnical needs of DOTs and other agencies responsible for roads and bridges are vast. Issues include: Culvert repair Soil stabilization Void filling Concrete slab lifting Sinkhole remediation Slope control Slough control in tunneling
Read More
-
Waterproofing & Secondary Containment
Protecting concrete usually means shielding it from the elements of nature or from harsh manmade chemicals. But it’s not just concrete that needs such protection. Corrugated metal pipe, steel surfaces, material hoppers, rail cars and masonry all can come in contact with corrosive or abrasive materials or harsh conditions.
Read More
-
Leak Seal
-
Products
-
Leak Repair
- AR 800
- Conduit Seal Kit
- PR10L ACLM
- Soakum Oakum Kit
- Prime Flex 900 XLV
- Prime Flex 910
- Prime Flex 920
- Prime Flex 940
- Prime Flex 985 LX10
- Prime Flex 985 LX20
- Prime Flex 985 5.0
- Prime Flex 985 5.0 Fast
- Prime Flex Hydro Gel™ SX
- Prime Plug 1, 2 & 3
- PrimeCem MSM
- PrimeCem CAM
- PR10 ACLM (granular)
- Prime Flex Hydro Gel™ EXP
-
Soil Improvement
- Soil Stabilization
- Slab Lifting
- Structural Repair / Bonding & Anchoring
- Pumps
- Dispense Guns & Applicators
-
Turnkey Trailer Rig
Are you ready to hit the ground running doing concrete leveling with polyurethane foam? Prime Resins offers the industry’s best suite of products for lifting concrete as a turnkey, fully equipped trailer rig.
Read More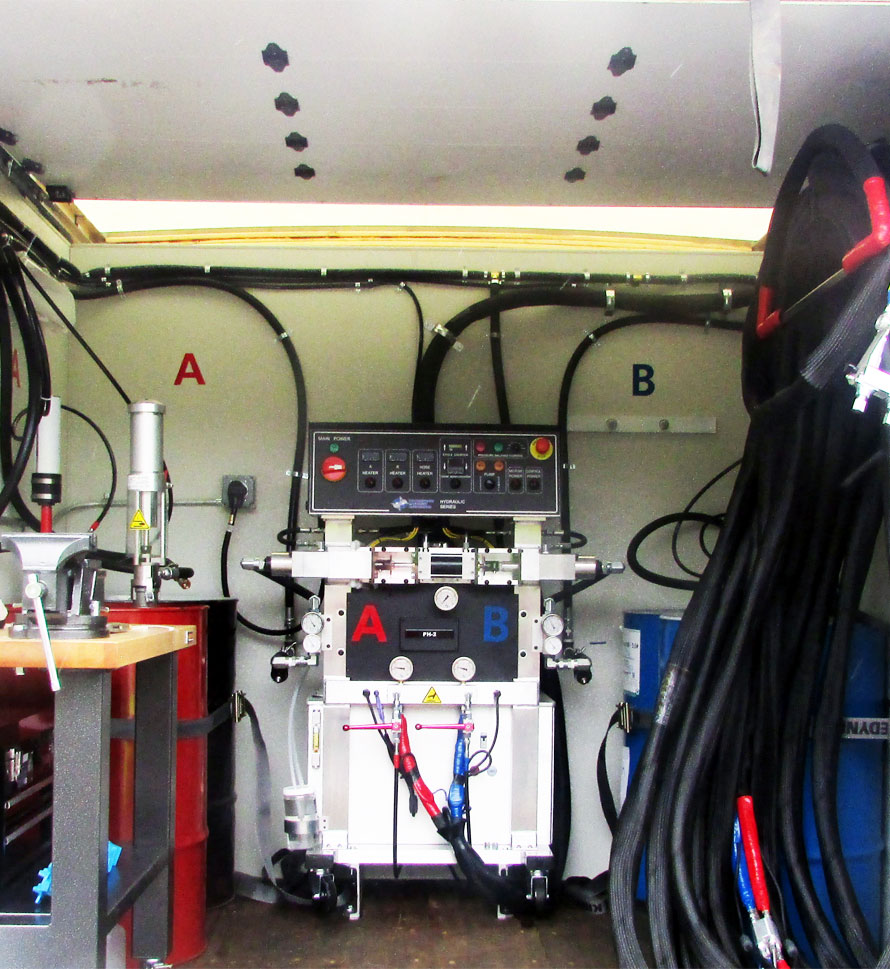
-
Accessories (General)
- 3/4" expendable drive point
- 3/8" and 3/4" soil probes
- Cartridge / Port Connectors and Mixers
- Conduit Seal Kit
- Eco Flush
- F Valve
- Flush Wand
- Grout Needle Kit
- High Pressure Control Valve
- High Pressure Mechanical Ports
- Kick Fast
- Low Pressure Plastic Ports
- PR11 TEA (used w/ PR10 ACLM)
- PR12 APSF catalyst (used w/ PR10 ACLM)
- PR17 LYTX
- Prime Kat
- Prime Plug
- Prime Solvent CGC
- Oakum
- Soil pipe jack
- Stainless Steel Grout Needle & Kit
- StainShield
- Wall Stinger Nozzle
-
Soil Grouting Accessories
- Pipe Coupler
- Pipe Coupler Ferrule
- Buttonhead Coupler - Straight
- Buttonhead Fittings
- SG 3/4" Expendable Drive Tip
- SG 3/4 Rod - 39" Base
- SG 3/4 Rod - 39" Connector
- SG 3/4 Rod - 19.5" Base
- SG 3/4 Rod - 19.5" Connector
- SG 3/4 Fitting - Pipe to Buttonhead
- SG 3/4 Fitting - Buttonhead Fitting
- IL 1/2" Drive Point
- IL 1/2" rod - 39" base
- IL 1/2" rod - 39" connector
- IL 1/2" Fitting Buttonhead
- SG 3/4" Fitting - Buttonhead Coupler
- SG 3/4" Slotted Drive Tip
- SG 3/4 Drive Head
- Modified Pipe Jack Soil Grouting
- SG 3/4 Fitting - Buttonhead Coupler
- Pagani DPM30 Penetrometer
- IL 1/2" Fitting - Buttonhead to Connector Rod
- IL 1/2" Rod to Rod Coupler Fitting
- High Pressure Flow Control Valve
- Buttonhead Coupler - 90°
- Buttonhead Clamp Kit
- DPM30 Penetrometers
- JackJaw Soil Probe Extractor
- Floor & Joint Repair
- Waterproofing & Secondary Containment
-
Leak Repair
- News
- Downloads
-
Tools
-
Case Studies
Prime Resins takes pride in its ability to find the right solutions to the problems facing our customers. Here are some examples of customers’ successful jobs:
Read More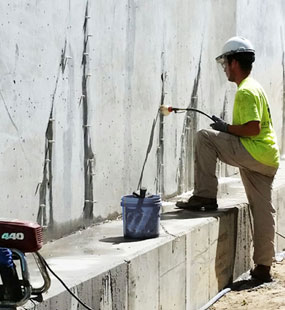
-
Prime Practices
-
Videos

-
Estimating Tools & Info.

-
Why us?
The superior quality of products at a fair price, our consultative approach, and our unparalleled technical support set Prime Resins apart. Learn more about the Prime difference.
Read More
-
Product Types & Typical Uses
-
Looking for a contractor?
-
Certifications
-
Case Studies
- Contact
Case Studies- Seawall Repair Pages
Downtown Marina Project- Panama City Beach, Florida
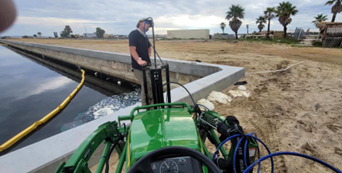
When the Panama City Marina was being rebuilt, the city started with the foundation. Key actions included demoing the cap, replacing the cap, and adding new deadman anchors and tiebacks. Another important item on the agenda was performing injections and sealing up the existing sheet piles that were built in the 1950s. There are joints between each sheet pile, and the objective was to seal and make whole that structure.
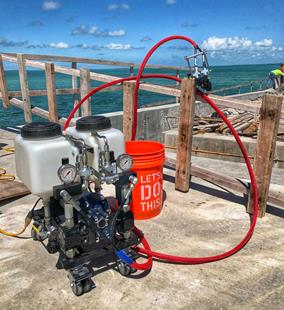
The contractor, Concrete Corrections, used Prime Flex 920 from Prime Resins to seal the leaks and fill any voids. It’s a single component, hydrophobic urethane with very low viscosity, allowing it to permeate the soil to prevent any type of water infiltration coming in and undermining the underlaying soils for the seawall itself. They injected at every seam to ensure that when the tides fluctuate, there wouldn’t be any water coming in and escaping out – and taking soil with it.
When the material is injected in with the soil, it permeates the soil and follows any imperfections on the back side of the seawall. It was used to seal up the seams on the sheet pile that was driven down many years back, and also seal off any other imperfections that have been created over time. It essentially gives you a new wall, with extra protection behind it to prevent any erosion going in or out. Prime Flex 920 creates an impermeable mass. If there are any tide fluctuations, the material itself will not break down.
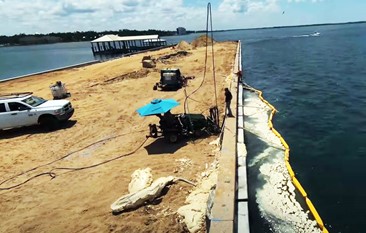
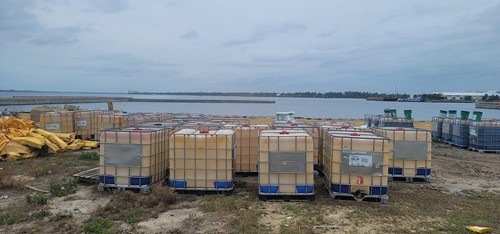
The contractor injected 13,000 gallons of 920 using the probe injection method from 11 to 28 feet on the front face of the T-dock. Prime Flex 920 is inert when cured and can be used with potable water, but the excess foam should still be gathered and thrown away. Turbidity barriers were set up. As the resin sealed the leaks all the way through the structure, some foam escaped to the other side while curing took place.
The contractor used the injection probe method to pump the foam. With the injection probe method, the first step is to determine appropriate spacing and depth placement for injection probes to successfully seal, stabilize and fill the area as shown in drawings. Test sections were used to determine the best probe spacing depending on soil types and conditions encountered. Typical spacing varies between 12” – 48” in each direction and if multiple rows are needed, then each row should be offset half the space distance.
Next, the contractor used Prime Resins soil probes with slotted, reusable drive points to keep dirt from clogging the pipe during driving. Pipes may be placed by a manual driver, a pneumatic driver, auger, water jetter or other method approved by the engineer prior to placement. In this case, a pneumatic driver was chosen.
After choosing the best ratio of catalyst to grout, the contractor determined the amount of grout needed for each probe to ensure all locations within the work area are fully grouted. They also checked for voids using a probe. Next, grouting began using the “Lift Grouting Technique”. This is where the pipe is raised or jacked up and grout is injected in 12”-18” intervals or lifts. The contractor determined the amount of grout injected as well as injection pressures at each lift based on soil conditions for that area.
Finally, the contractor continued pumping to the point of refusal when grout was seen sealing the wall through to the water side. Lastly, they ensured that weep holes/drain holes were free of grout. If no weep holes were present, the contractor would have installed a drain hole with a filter.
This phase was completely successfully, and the City and FEMA’s Project Development Team continue working together to finalize the amount of eligible funding for further rebuild of the Panama City Marina and Ship Store.


