


Scope of Work: Injection of permeable, failing substrates to stabilize soil with polyurethane chemical grouts.
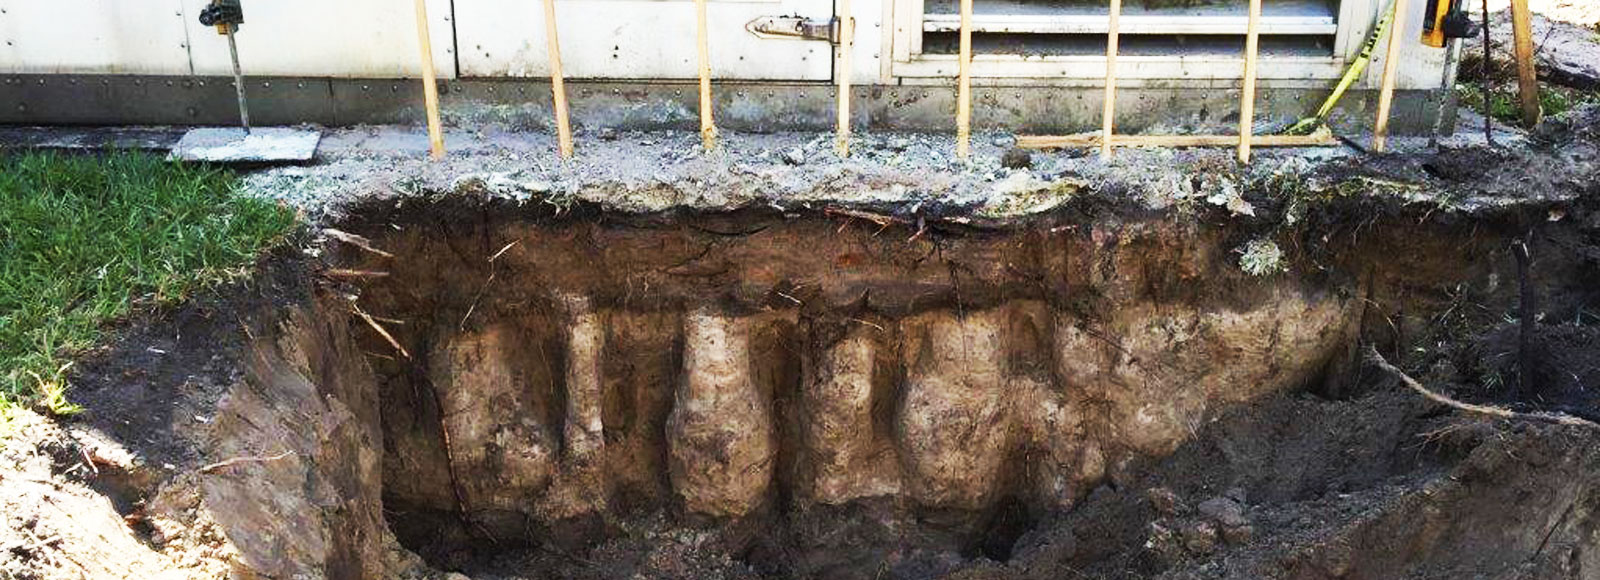
Problem: Water migration through poor or loose soil substrates (sandy soils, poorly compacted fill, etc.) results in erosion, movement and/or loss of soils causing failure in above- and below-grade structures such as slabs, foundations, roadways and bridges.
Solution: Inject slow-reacting polyurethane resins slowly into the soil in order to stabilize the substrate. The resin turns into a foam that binds the existing soil components together.
Steps:
1. IDENTIFY SOIL CONDITIONS:
If necessary, perform a Standard Penetration Test (SPT) and Split-Barrel Sampling of Soils (ASTM D-1586) to determine the permeability of the failing substrate. The void content of the soil, aggregate size and water content will impact product choice and application technique. This question must be addressed prior to injecting the soil with chemical grouts.
2. SELECT APPROPRIATE PRODUCT:
Prime Flex 910, Prime Flex 920 and Hydro Gel SX can all be used for permeation grouting. Factors such as soil type, moisture content and void size help determine which is the right product. If you are not sure which is the right one, please call us; we are here to ensure you have the right product for the right job. The following instructions pertain to Prime Flex 910 and 920.
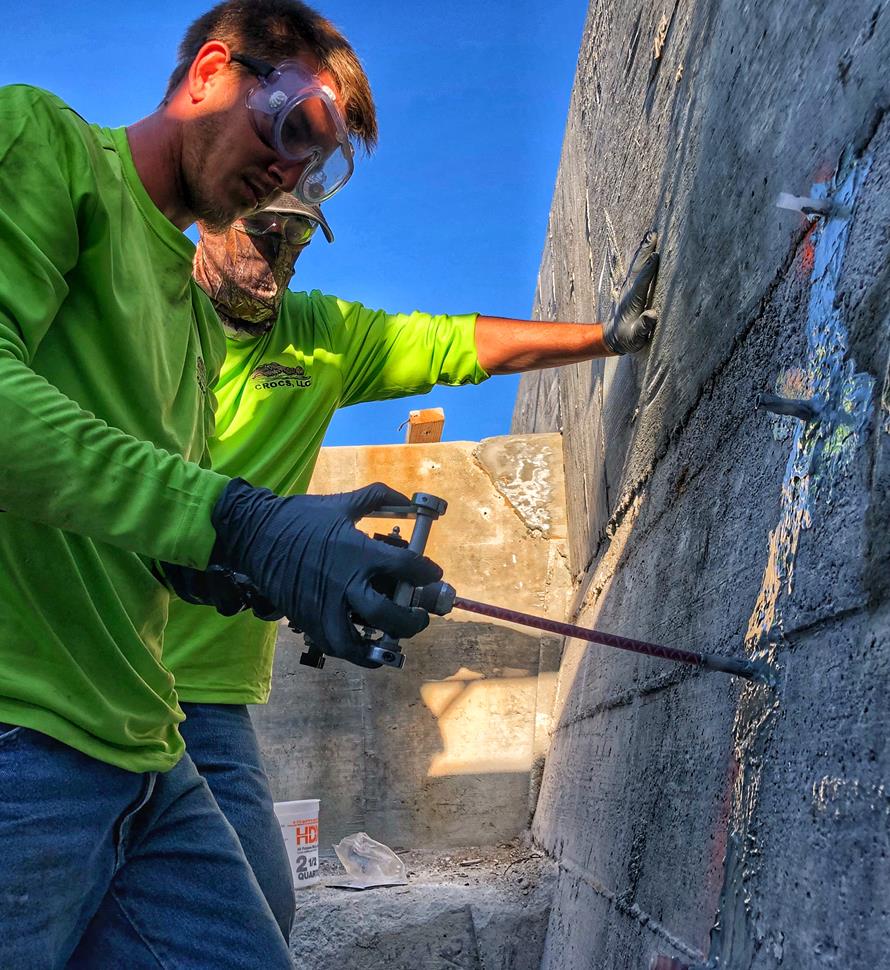
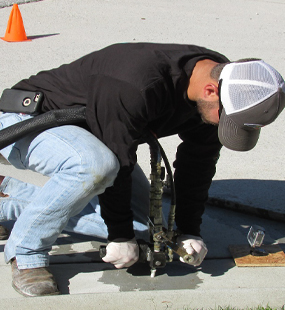
3. INSTALL INJECTION PROBES:
Use 3/8”, 1/2” or 3/4” black iron pipe for mechanically driven probes. 1/2” diameter* plastic pipes may be air jetted or water jetted into place. *You need to use a pipe stiff enough to stay vertical when driven into the ground, so depending on the soil and depth of probe placement, you may need a larger pipe.
The distance between ports depends on the soil type and the depth of injection. Distances can be as little as one foot or as much as three to four feet, but one to two feet is typical. Depending on the job, multiple rows might be required.
When mechanically driving pipes, expendable drive points should be used in the ends of injection probes to prevent the opening of the probes from being blocked by soil or dirt when driven to depth. Injection probes should be driven to a predetermined depth and injected from the deepest depth to the surface substrate or the top of the grout zone as indicated by the contractor or engineer. Spacing and volume of injection is typically determined from soil analysis that provides aid in establishing those measurements prior to injection.
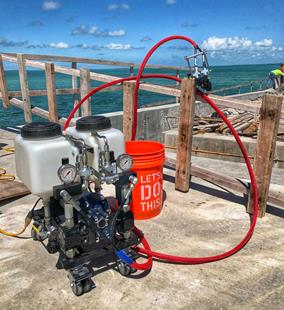
4. PREPARE PUMPING SYSTEM AND GROUT:
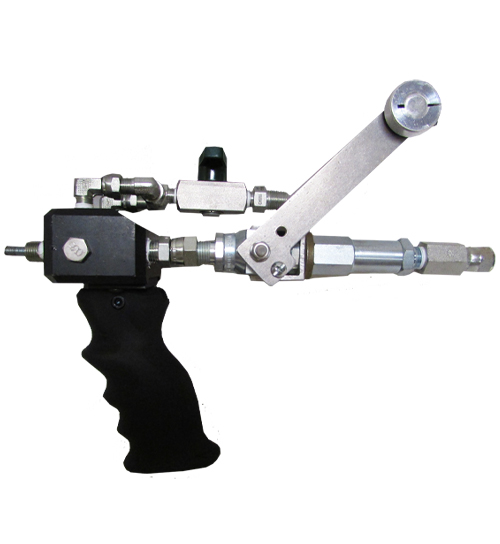
Permeation grouting requires the ability to convey material under moderate pressure. A pump with moderate pressure pumping capacity should be used (500 p.s.i or more). Attach a high-pressure flow control valve (685-H) to the end of the injection hose for attachment to soil probes. Flush pump and recirculate with Prime Flex Eco Flush to ensure the pump is free of water.
Use Prime Flex 910 or 920 with Prime Kat. See data sheet for set times for the proper Prime Kat amount to use. When adding Prime Kat to Prime Flex 910 or 920, the solution must be mixed with a low speed drill and jiffy-mixer style paddle for two to three minutes. Hand mixing will not produce the desired results. Prime the pump with the resin before attachment to the soil probes.
5. INJECT CHEMICAL GROUT:
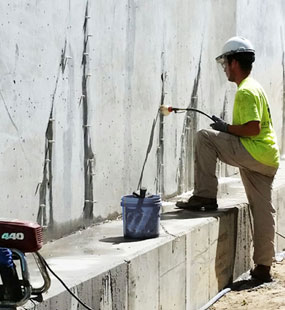
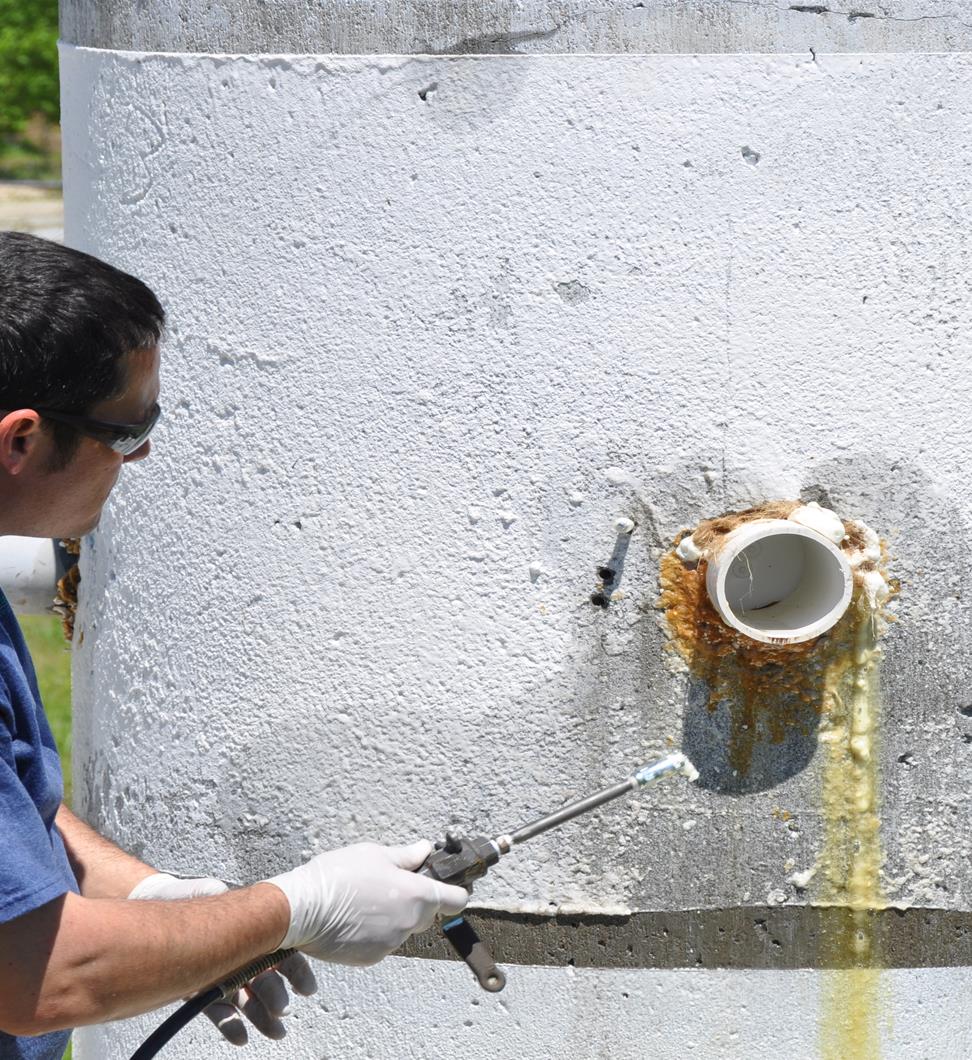
Attach the flow-control valve to the first probe for pumping using high-pressure connection fittings. Set the pump pressure to its lowest setting. Increase as needed. Open the flow-control valve slowly to begin conveying material through the probe into the soil substrate.
In extremely arid soil conditions, it may be necessary to supply water to the soil at the location of the probe to promote a successful reaction with Prime Resins hydrophobic, water-reactive grouts. This can be done by saturating the injection area with a standard water hose prior to injection if the injection depths will be quite shallow. Otherwise inject water through the probes first to ensure sufficient moisture within the soil.
The volume of grout per lift (vertical interval) should be predetermined before injection begins, typically about one gallon per vertical foot in sand or loosely compacted soils. Once the desired volume has been injected at that depth, lift the probe to the next depth without closing the valve. Standard procedure is to inject one gallon, lift one foot, inject one gallon, lift one foot and so on. Depending on the soil conditions, the volume per lift may vary.
Continue pumping material while the probe is being lifted to the next desired depth. (Generally a jack will be required to aid in lifting the pipe due to soil and grout friction.) It may be necessary to increase pressure as the probe is continually lifted to each depth to reach the desired volume. Pumping should continue until refusal or significant backpressure is built to guarantee the soil has been adequately saturated with grout for optimal results. Once the probe is lifted to 24” from the surface, injection should be halted and the probe can then be removed from the substrate.
This procedure should be repeated for each injection probe until each location has been fully injected. Once all injection probes have been injected and removed, any waste material that has surfaced should be cleaned from the ground and cleanup can be performed.
Note: Material may have the tendency to travel straight up the outside of the injection pipe and return to the surface. To avoid this, drive or jet the pipes as straight as possible with minimal disturbance of the soil around the pipe. Pack soil as tightly as possible around the top of the pipe. Reducing the injection pressures can also help because trying to inject too fast will cause rejection and pipe chasing.
6. FLUSH THE PUMP:
When finished pumping for the day, the pump should be thoroughly flushed out using Prime-Flex Eco Flush. Material should NOT be stored in the pumping equipment or hoses overnight. See Equipment Maintenance – Flushing Single Component Pumps for detailed information.
Safety Considerations:
- Always wear protective clothing, chemical resistant gloves and safety goggles at all times when handling resins. Blowouts can occur when injecting resins at high pressure.
- Polyurethane resins contain isocyanates, which can cause respiratory irritation. Use mechanical ventilation in confined spaces.
- Be careful of electrocution when working with power equipment in wet environments. Keep water off of electrical cords and equipment.
- Carefully read MSDS/SDS prior to handling any chemical.
- Keep first aid kit (eye wash, bandages, etc.) present on site with easy access.
Materials List:
- Prime Flex 910 or Prime Flex 920
2. Prime Kat Clear
3. Prime Flex Eco Flush - Empty 5-gallon pails
Equipment List:
Impact 540 or 640 airless sprayer
Injection probes – 3/8”, 1/2” or 3/4” schedule 40 or 80 iron pipe
3/4” drive points
High-pressure flow-control valve
Protective wear – Tyvec suit
Safety goggles
Chemical resistant gloves
Pipe jack
Sledge hammer or Rhino driver equivalent
Vice grips
Replacement fittings
Rotary drill and mixer