


Scope of Work: Injecting Precision Lift foam to raise sunken and misaligned concrete slabs.
These instructions do not replace proper hands-on training with Precision Lift products. This information is provided as a supplement to that training.
Problem: Soft soils, erosion, biodegradable materials, expansive clays and poor compaction can lead to settlement of concrete slabs on grade.
Solution:
Injecting light-weight high density foam under the sunken slab will fill voids, densify supporting soils and stop unwanted water travel under and through the slab. The rapidly expanding foam hydraulically lifts the slab back into position with extreme precision.
Solution Steps:
Prior to the day of the job or earlier that day, locate all buried utilities in the work area. Avoid drilling or pumping foam in the vicinity of buried pipes. Expanding foam will fill and close pipes if there are defects in the pipe system.
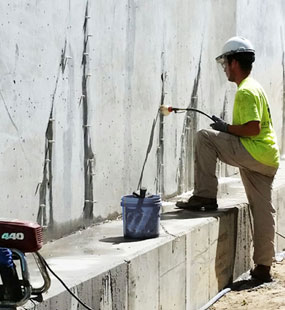
STEP 1
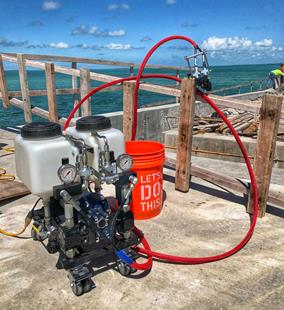
Set up pump system (Revolution) or turn on generator/compressor/proportioner (rig). (See technical data sheet for appropriate temperature setting for material). Condition the material by starting pump and engaging the resin heating system to bring the material up to temperature. (If you are using a rig, engaging the resin heating system can wait until Step 6 due to the efficiency of the heaters.)
STEP 2
Eliminate any obstructions from adjacent slabs or structures that could prevent the slab from lifting. Misaligned joints may need to be sawed full depth to prevent the adjacent slab from lifting.
STEP 3
Place plastic sheeting over adjacent structures and other property to protect from foam in the event of a blow out or accidental discharge. The concrete surfaces themselves can be protected with StainShield. This is especially important if you are working with decorative concrete.
STEP 4
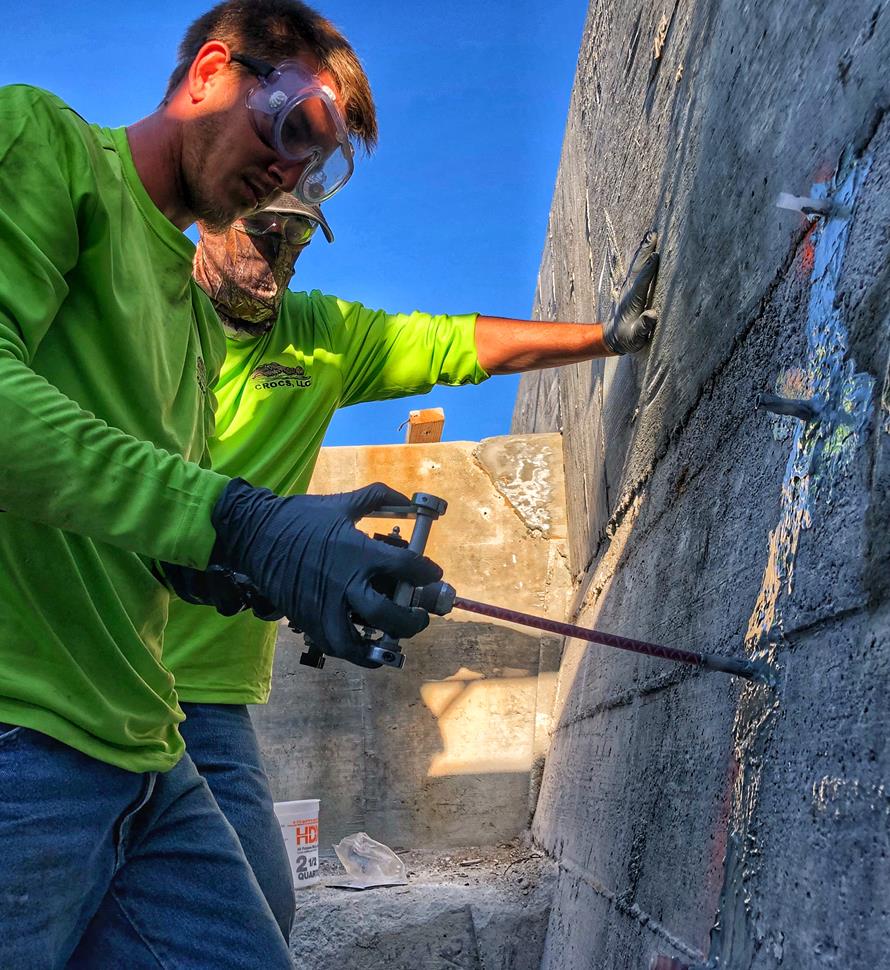
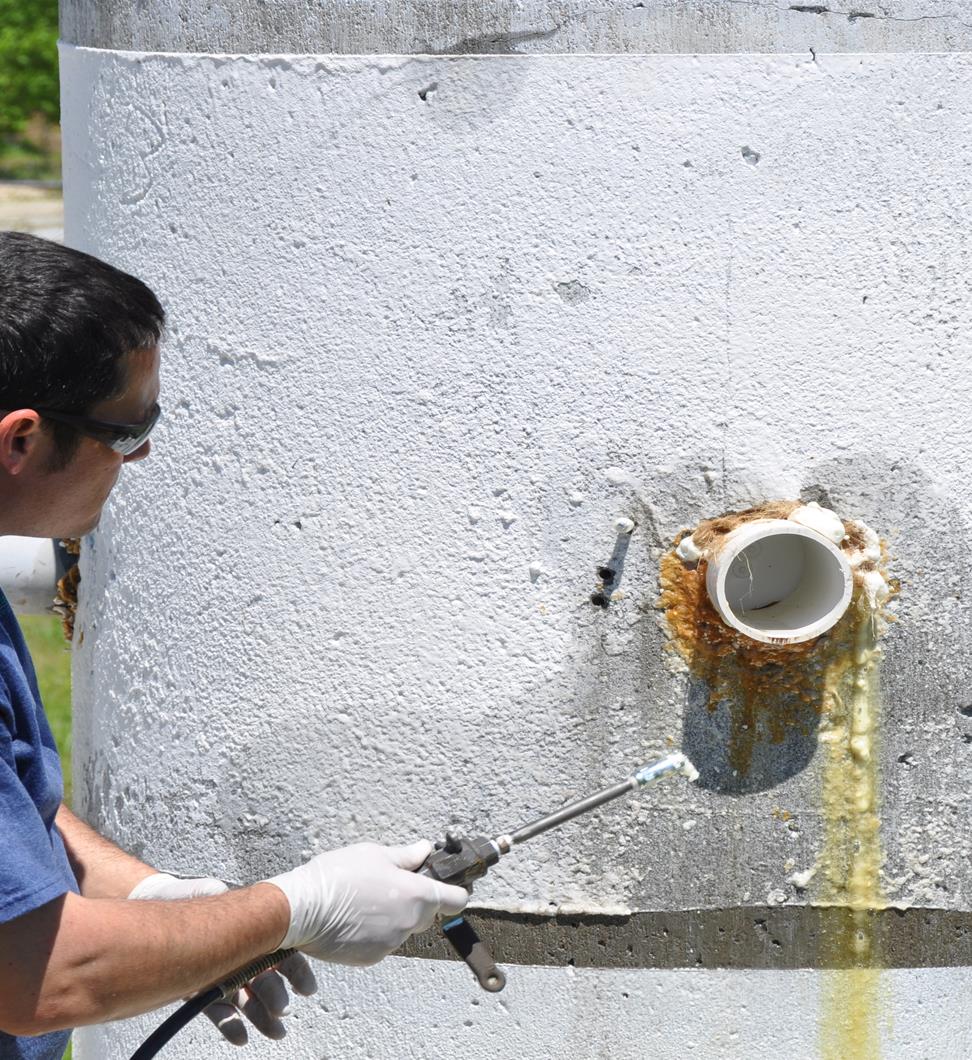
Beginning in the lowest point of the slab, drill 3/8” holes to access the void or underside of the slab. Stay a minimum of two feet away from the edge of the slab to help prevent foam from escaping from the edge. Large slabs will require multiple holes approximately three to five feet on center. Sidewalks will normally require one hole. Place holes more frequently on thin slabs with little reinforcement. Holes can be placed less frequently when lifting thick, heavily reinforced slabs.
STEP 5
Use a small diameter probe to check the density of the supporting soils and to gauge if there are voids present under the slab. If supporting soils are soft, see Prime Practice “Permeation grouting of sandy soils.”
STEP 6
Perform a test shot of the material into an empty pail or box or paper bag to ensure pump is dispensing on ratio.
STEP 7
Set up equipment, i.e. string lines, laser level, or dial indicators to monitor slab or adjacent structure movement.
STEP 8
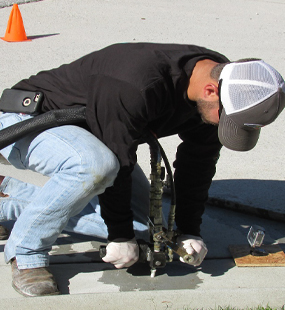
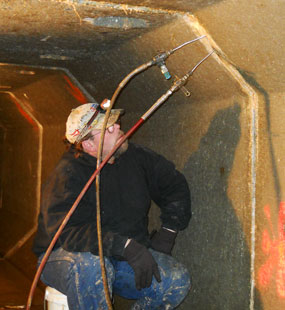
Begin injecting Precision Lift foam at the lowest point on the slab. Inject foam in intervals. Interval length will vary with the conditions. If foam travels too far laterally, shorten the “on” cycle to keep the foam closer to the injection site. Once voids are filled under the slab, the expanding foam will begin to raise the slab. Use multiple holes to help prevent damaging the slab. Never raise the slab more than 1/4” from a single injection point. Always look for obstructions from adjacent structures. Continually monitor surrounding areas for movement and flow of foam.
STEP 9
It will be necessary to re-drill holes that have been previously injected. Make certain that you have a drill bit long enough to penetrate the foam that builds up under the slab. This ensures the foam has a pathway to travel and helps prevent a blowout or clogged gun.
Note: When re-drilling holes, only drill deep enough to penetrate the foam layer under the slab. Do Not extend the hole into the supporting soils.
STEP 10
Interior portions of the slab will lose contact with supporting soils during jacking. Be sure to inject foam in these areas to completely support the slab.
Safety Considerations
- Always wear safety goggles when drilling, grinding, flushing, injecting or handling resins.
- Always wear protective clothing, chemical resistant gloves and safety goggles at all times when handling resins. Blowouts can occur when injecting resins at high pressure. Prime Plug contains cement powder, which has a very high pH and may cause burns to skin or eyes. Cured foam will not wash off skin.
- Carefully read the SDS prior to handling any chemical.
- Be aware of potential electrocution hazards when working with power equipment in wet environments. Keep water away from electrical cords and electrical equipment.
- Make sure no loose clothing can come into contact with moving mechanical equipment.
- Follow all OSHA confined space entry requirements where applicable.
- Polyurethane resins contain isocyanates, which can cause respiratory irritation. Use mechanical ventilation in confined spaces.
- Keep first aid kit (eye wash, bandages, etc.) present on site with easy access.
Materials List:
- Precision Lift 4.0, 4.75 or 2135 lifting foam
- Prime Plug 1, 2 or 3 (hydraulic cement for patching drill holes)
- StainShield
Equipment List:
Revolution pump or PMC proportioner
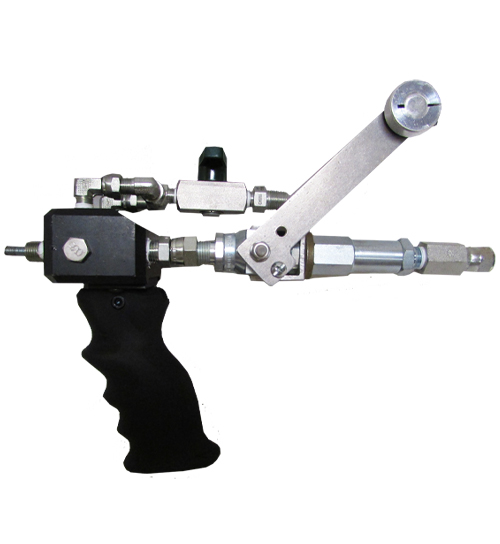
Equalizer impingement gun
Concrete saw
Hammer drill
3/8” drill bits, 18” drill depth or a length in excess of foam fill
Plastic roller
Packer plucker
Empty 5-gallon pails
Laser level, string line or dial indicators
Optional (but your knees will thank you): Mechanic’s chair on rollers
Related: Soil stabilization – Permeation grouting of sandy soils