


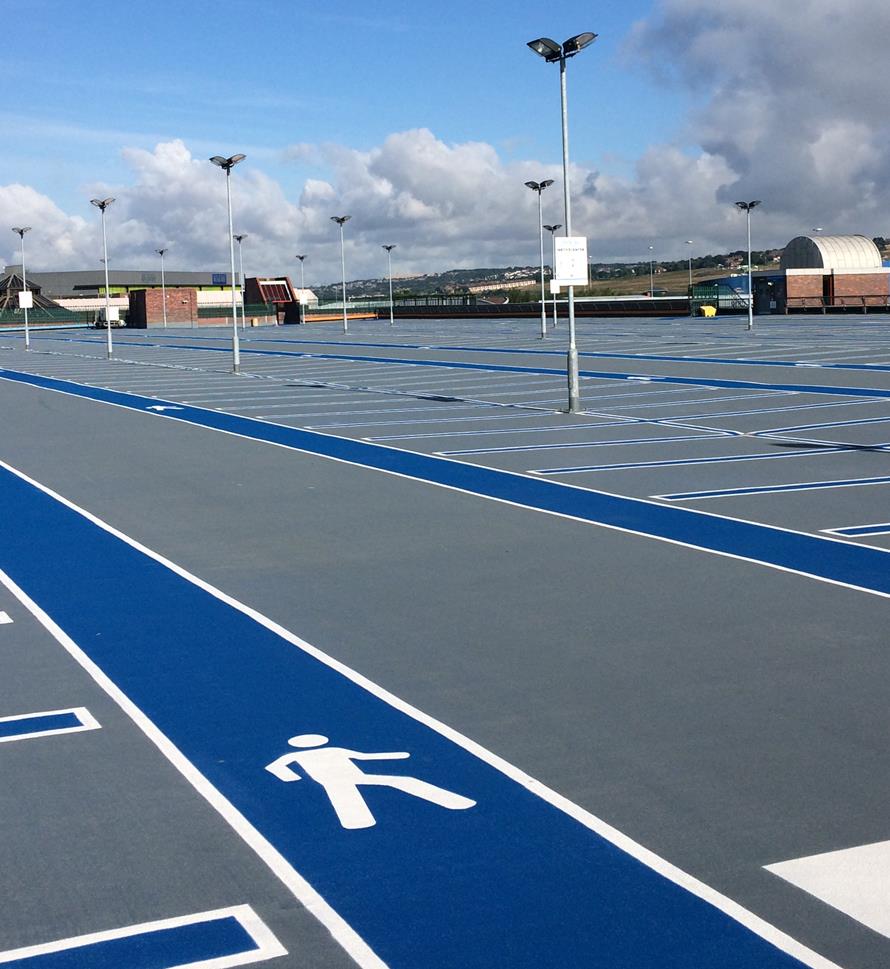


Scope of Work: Repairing damaged warehouse, manufacturing, commercial floors
These instructions do not replace proper hands-on training with Precision Lift products. This information is provided as a supplement to that training.
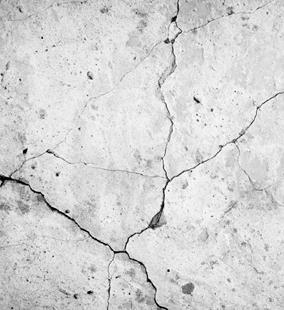
Problem: As concrete cures, moisture is lost from the concrete mix. The surface can cure faster than the middle and bottom of the slab. As the water dissipates, the concrete on the top of the slab contracts, creating surface tension. This tension causes the ends of the slab section at the joint to pull up or curl, creating a void between the concrete slab and the soil below. As the forklift drives across the floor, the weight causes the slab to deflect, allowing the tire to hit the joint face of the adjacent slab panel. Over time the joint edges deteriorate. Slab curl must be addressed first before repairing the joints. This step is often overlooked and just more joint sealant is placed in the joint. This will fail because joint sealants are designed for movement in expansion and contraction (joints opening and closing) not in shear (up and down movement). If you have rocking slabs, they must be stabilized first or you are just wasting time and money.
Solution: Injecting Polyurethane Grout Under the Slab
Solution Steps:
STEP 1: Inspect the Area
The first step is inspection and sounding to locate and map voids. Once done, the map can be used as a guide for areas to be treated. A ranking of one to three can be used to prioritize different areas based on budget limitations.
STEP 2: Drill Through to Voids
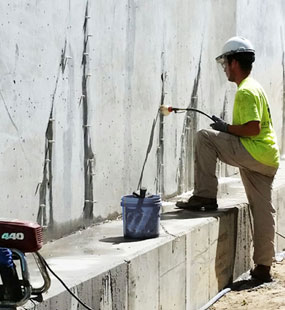
Using a rotary hammer drill, drill a series of 3/8”(.9525 cm) diameter holes at 24” (60.96 cm) on center parallel to the joint and approximately 9-12” (22.86-30.48cm) from the centerline of the joint. Stagger holes on each side of the joint by half the distance. For larger voids or curl that extends more than 18 inches (45.72 cm) underslab, a secondary row of holes may be necessary toward the inside of the slab using an offset grid pattern.

STEP 3: Fill Void Under Slab
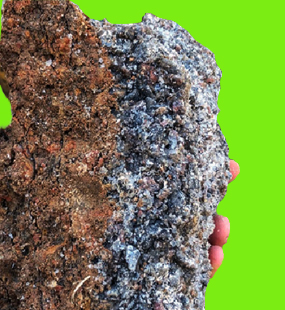
Injection of a high strength, high density foam (Prime Flex 985 LX10 or LX20) is used to stabilize the slabs and prevent rocking.
Using a 1/4” (.635 cm) rod, dowel, or piece of wire to determine depth of void under slab. After determining amount of void, calculate approximate amount of resin needed.
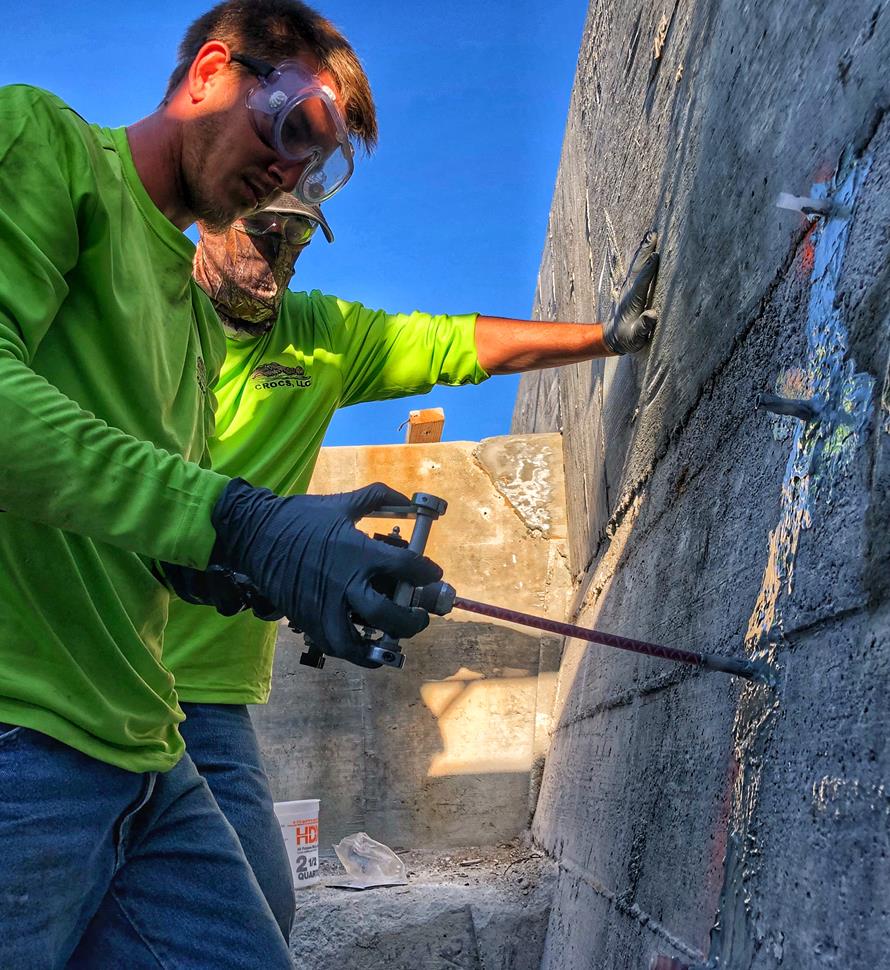
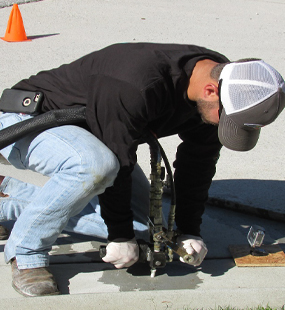
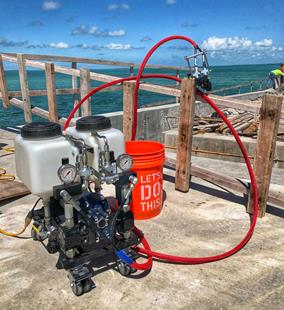
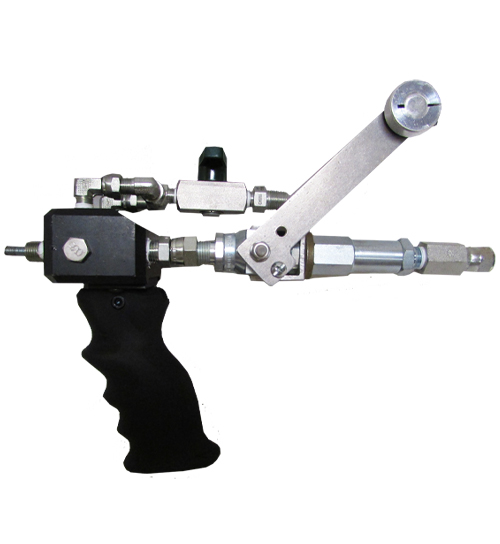
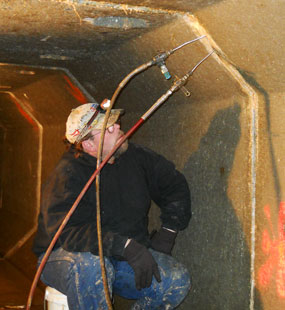
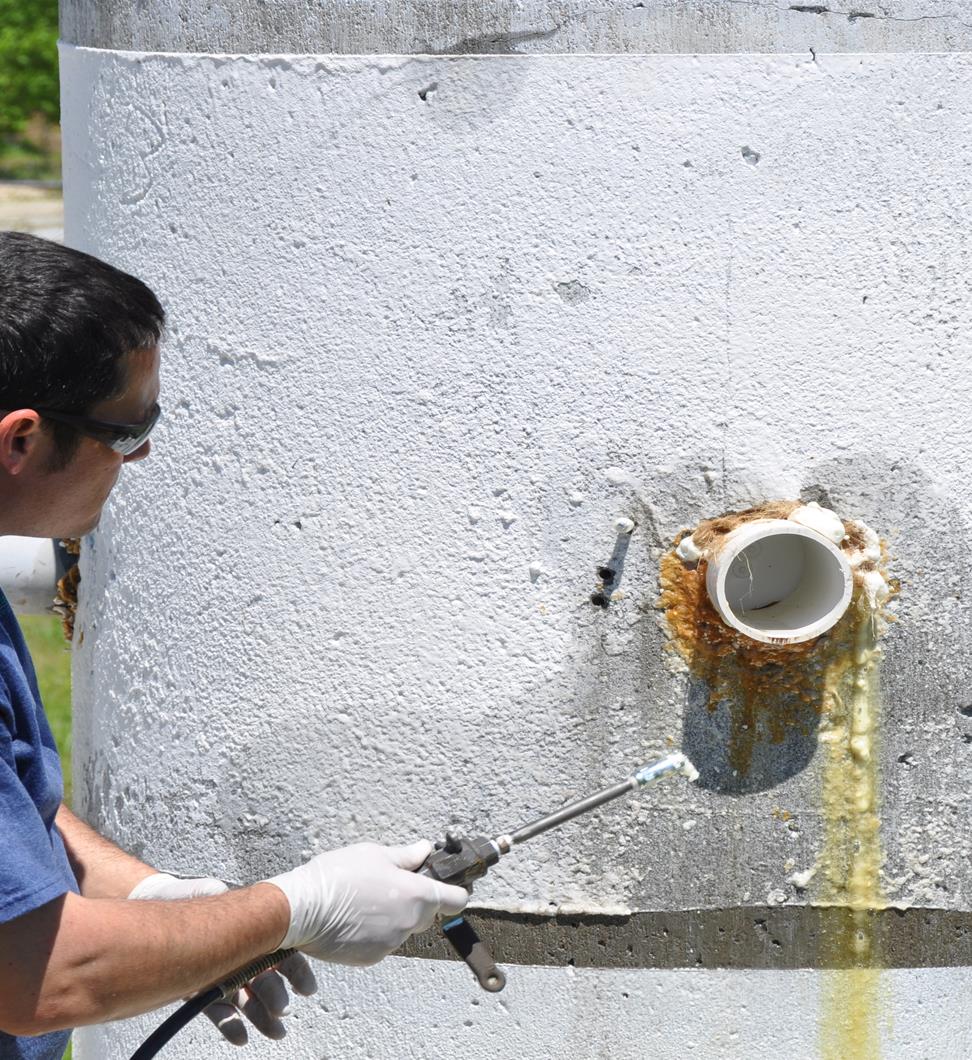
Using a meter-mix, positive displacement pump such as the FlowMaster, inject the Prime Flex 985 rigid foam into the void through the open drill holes.
Inject the resin into each hole. After removing injection nozzle from hole it should be left open for venting of excess foam. CAUTION: Injection of too much material may cause slab to rise, in which case it may be necessary to pull a heavily loaded forklift onto slab to prevent it from rising. DO NOT OVER INJECT.
STEP 4: Shave Excess Foam

After foam has fully reacted, shave excess from floor surface. Holes may be left filled with foam or drilled out to ½” (1.27 cm) diameter and minimum 1” (2.54 cm) deep and filled with Prime Resins Prime Gel 2500 Quick Bond or Joint Shield 5500 polyurea.
STEP 5: Wait for Curing
Allow foam to cure for 15 minutes before opening to traffic at 65ºF+(18.33ºC). For coolers or freezer applications, please consult Prime Resins Technical Services department for more information. Please have temperature and approximate void size when calling for best assistance.
STEP 6: Fill Control Joints
Once slabs are stabilized, grind and level the transitions and install joint fill material. This protects the edges of the slab and makes a smooth transition for material handling equipment.
For interior applications any unfilled control joints and random cracks are to be saw-cut clean and filled with a semi-rigid filler such as Joint Shield 5500 or, where time allows, Joint Shield 5000 (epoxy based). Cracks and joints shall be slightly overfilled and shaved or ground flush with surrounding floor surface.
NOTE
This process can be done even when the facility is in operation or after hours. The floor can be opened to traffic as soon as 15 minutes after the injection process is done. Once the slabs are stabilized, the top of the slabs may need to be ground flush with each other so the slabs are the same elevation across the joint to provide a smooth transition from one slab to the other. This is not due to the stabilization process, but rather the difference in the amount of curl from slab to slab surface.
If joint edge deterioration (spalling) has occurred, then rebuilding/repairing joint nosings must be done prior to filling the joints with a semi-rigid epoxy or polyurea joint filler. The repair of joint nosing should be done with an epoxy or Prime Bond 3000 Fast or Floor Fix mortar material for long-term durability.
Safety Considerations
- Follow OSHA (or equivalent) guidelines for personal protection.
- When working with any chemical read technical data and SDS information.
- Chemical safety glasses should be worn when working with material.
- Gloves and long sleeved shirts can be worn to protect hands and skin.
- Do not use solvents to wash resin from skin. Use warm water and soap.
- Cleaning solvents for tools may be flammable – see container label and SDS for cleaning solvents.
Materials List (items in bold available from Prime Resins):
1. Prime Flex 985 LX10 or LX20
2. Joint Shield 5000 or 5500
3. Joint fill material
4. Cleaning solvent for tools
5. Plastic sheeting (to protect floors in mixing area)
6. Several clean dry pails for mixing
7. Trowels
8. Rags
9. Gloves
Equipment List
- Concrete saw (preferably dustless)
- Grinder with diamond blade or chipping hammer with chisel bit
- Electric cords
- Shop vac
- Jiffy type mixing paddle
- Rotary hammer drill
Related:
Creating a Mortar with Epoxy Resin and Sand for Spall and Joint Repair
Floor Repair: Repairing Spalls and Chips in Industrial Floors with Floor Fix Urethane