


Problem: Dust left in an injection hole by the drilling process will turn to a thick paste and block the flow of resin if not properly cleaned out.
Steps:
WHY FLUSH THE HOLE?
Properly flushing out the drilling dust from a drilled hole can mean the difference between a successful job and a complete failure. In almost all cases, proper flushing will reduce the chances of callbacks. This is most important in tight cracks, but is equally important in injecting wide cracks and joints. The only exception is if you hit a water pocket and water streams out of the drill hole. Obviously this is a self flushing hole. If you fail to properly flush the hole (from the back), then here is what will happen: When you begin injecting resin, the drilling dust will mix with the resin and turn into a paste. The paste will be the first material to reach the crack and will dam it, potentially preventing any resin from getting into the crack. The drilling dust also can prevent your injection port from properly seating in the hole. The port may blow out of the hole when the resin is injected at high pressure (up to 3,000 p.s.i.). If your injection port blows out, it is highly unlikely that you will be able to get another port to seat in the hole (the hole is now lubricated with resin). This will result in failure at that point of injection.
HOW TO FLUSH THE HOLE
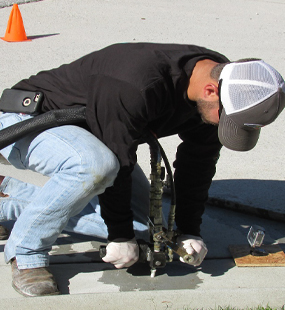
The key to properly flushing a hole is to force water into the back of the hole so that it
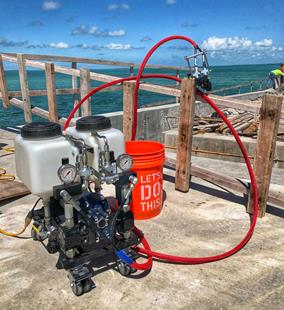
washes out the entire hole back to front. The best way to do this is by using a flush wand (available from Prime Resins) and an airless sprayer (the same type of pump you would use for injecting the resin – even the same pump in some situations.)
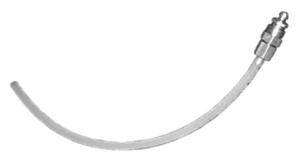
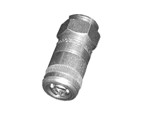
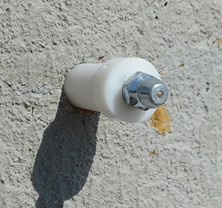
Flush wand Coupler
If you don’t have a flush wand available, feel free to improvise. Use a piece of plastic tubing from a hardware store. You can attach it to the end of a garden sprayer. You can buy a cheap garden sprayer and cut off the end of the wand (assuming the wand will fit in the hole you drill). Rig up a piece of tubing to the end of a water hose. Do whatever it takes, just make sure you do something to flush the drilling dust out of the hole from the back.
Here is the key: The wand needs to be a smaller diameter than the size of the hole you are drilling so that it will fit in the hole. It has to reach all the way to the back of the hole.
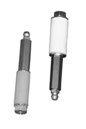
SETTING INJECTION PORTS
The injection ports you install may have to withstand pressures as high as 3,500 p.s.i. so they need to be installed properly. There are several types of ports available.
1/2″ or 5/8″ MECHANICAL PACKERS
Install mechanical packers into the drill hole so that the colored tubing and washer are completely inside the hole (only the metal extension is protruding from the hole). Tighten down the metal extension hand tight. Over-tightening can cause excessive pressure and crack weak concrete.
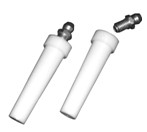
3/8″ BANG-IN PORTS
Insert the ports into the holes and bang them in with a standard hammer. You will notice a slight change in the way the “bang” feels once the ports are set tight. They will not seat flush to the collar. The collar will protrude slightly from the concrete.
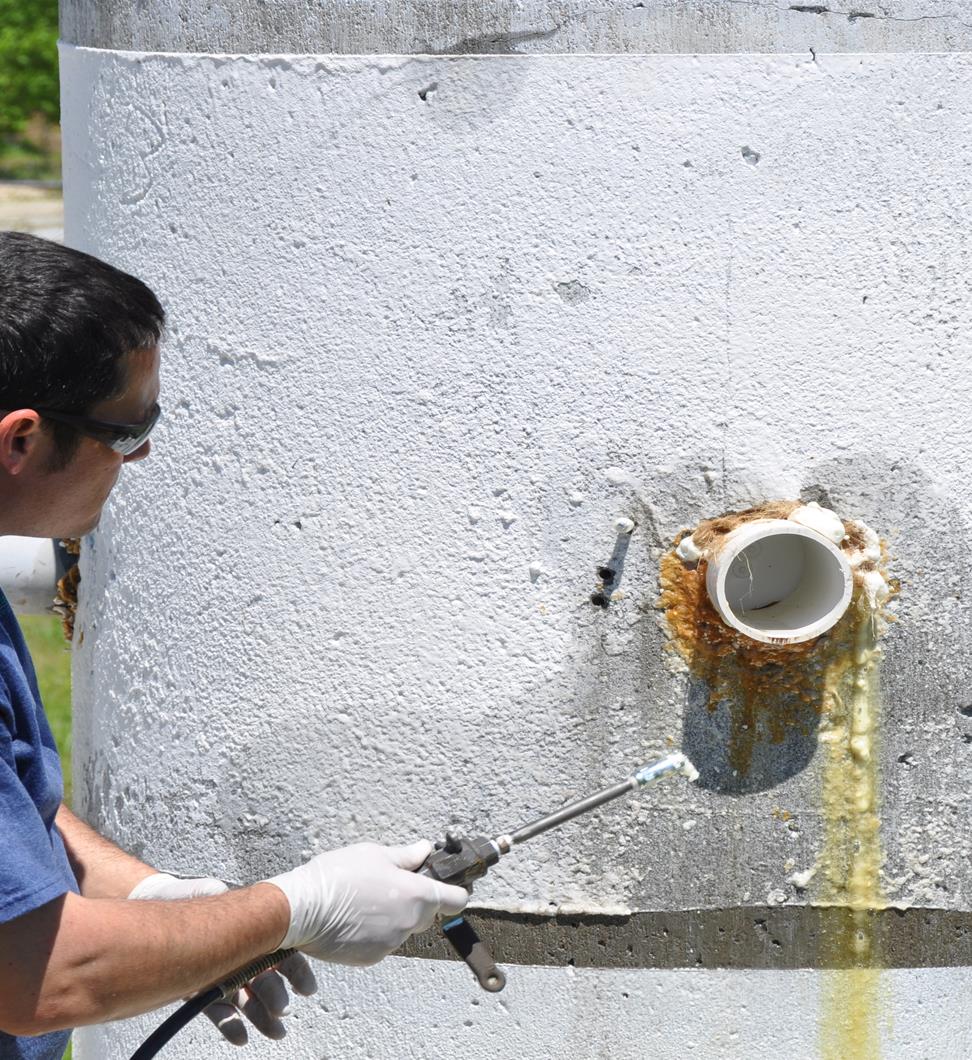
INSTALLING ZERK FITTING
The zerk fitting will screw directly into the metal extension of the mechanical packers or the threaded hole of the bang in ports. The key to making this easy on yourself is to use a 9/32” nut driver (a tool with a screwdriver handle and a 9/32” socket on the end). This makes installation easy. Without this tool, installing the zerk into a bang in port can be difficult, especially if resin is running out the port.
At times, it will be beneficial to leave the zerk fittings off of the ports until resin or foam starts running out. Leaving the zerk off will allow water and foam to run out, giving you a good indication of how your procedure is working (water speeding up or slowing down, foam or raw resin running out the port).
Safety Considerations:
Keep flush water off of electrical components.
Materials List:
- Flush wand
- Hydraulic coupler
- High pressure injection port
Equipment List:
- For 1/2” or 5/8” Mechanical Packers:
- Socket Wrench and 3/8” deep well socket
- 9/32” Nut driver
- Vice grips
For 3/8” bang in ports:
- Hammer
- Vice grips
- 9/32” nut driver