


Scope of Work: High pressure injection of hairline cracks in concrete to seal leaks using Prime Flex 900 XLV or Prime Flex 940.
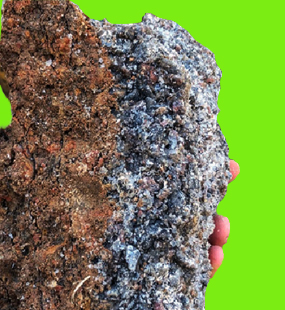
Problem: Cracks in concrete walls (including basement walls, water and sewer tanks, utility vaults, parking garages, and other below grade structures) allow water to migrate through the concrete exposing reinforcing steel to moisture, which may result in corrosion of the steel, and may result in unsightly water stains and damage.
Solution:
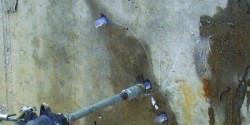
START WITH A VISIBLE CRACK
The surface of the crack may need to be cleaned off with a mechanical grinder or a wire brush. Deposits left by efflorescence can inhibit full penetration of the grout.
DRILL INJECTION HOLES
Angle drill (45 degrees) towards the crack. Start drilling at points ½ the depth of the concrete away
from the crack. When possible, alternate direction of drilling for every hole.

FLUSH INJECTION HOLES
See “Crack Repair – Drilling and Flushing Holes” for detailed information.
INSTALL PORTS
See “Crack Repair – Installing Injection Ports” for detailed information.

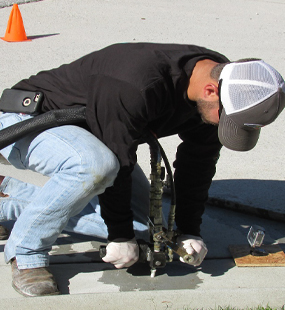
FLUSH THE CRACK
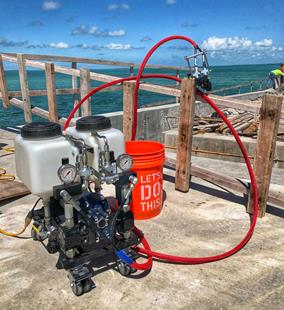
Do not skip this step as it is critical for a successful injection. Install a tip on the first injection port. USE ONLY CLEAN WATER TO FLUSH THE CRACK! Injection pressure should start at 250 p.s.i. and be increased as needed. This will clean dirt and other contaminants out, open the crack up, and insure that enough water is present to activate the grout. A non-staining dye may be added to the water to see where the flush water is coming out and to help separate ground water from flush water. Start flushing with the injector that is at the bottom of a vertical crack, or at the very end of a crack if it is horizontal. Continue to flush with water until only contaminate free water is flowing out of the crack or the next port. If no water is being pumped through the port, the injection hole may not be intersecting the crack. If this is the case, drill another hole on the other side of the crack and repeat the above steps. Be sure not to cross through the first injection hole. Repeat this process for every port. In order to insure that the grout will not set up in the pump and hoses, it is best to use two different pumps – one for flushing and one for grout injection. If this is not possible, be sure to thoroughly flush the pump out with Prime Flex Eco Flush before switching from water to grout.
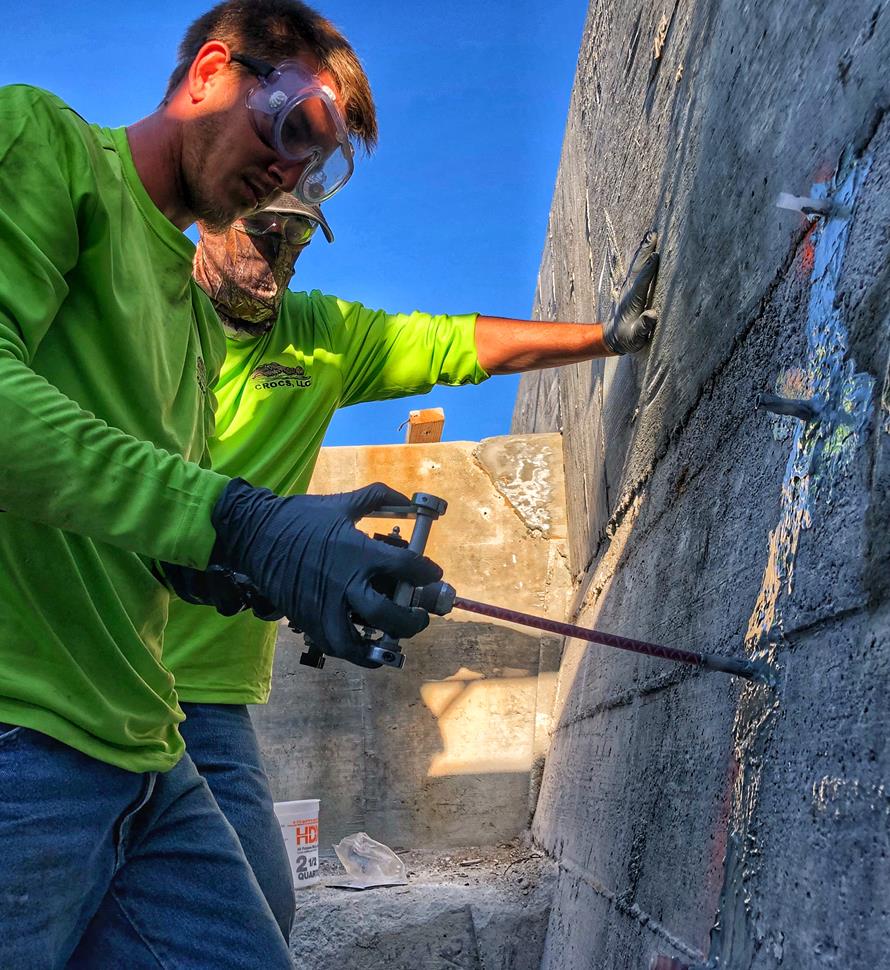
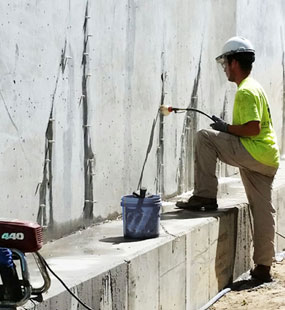
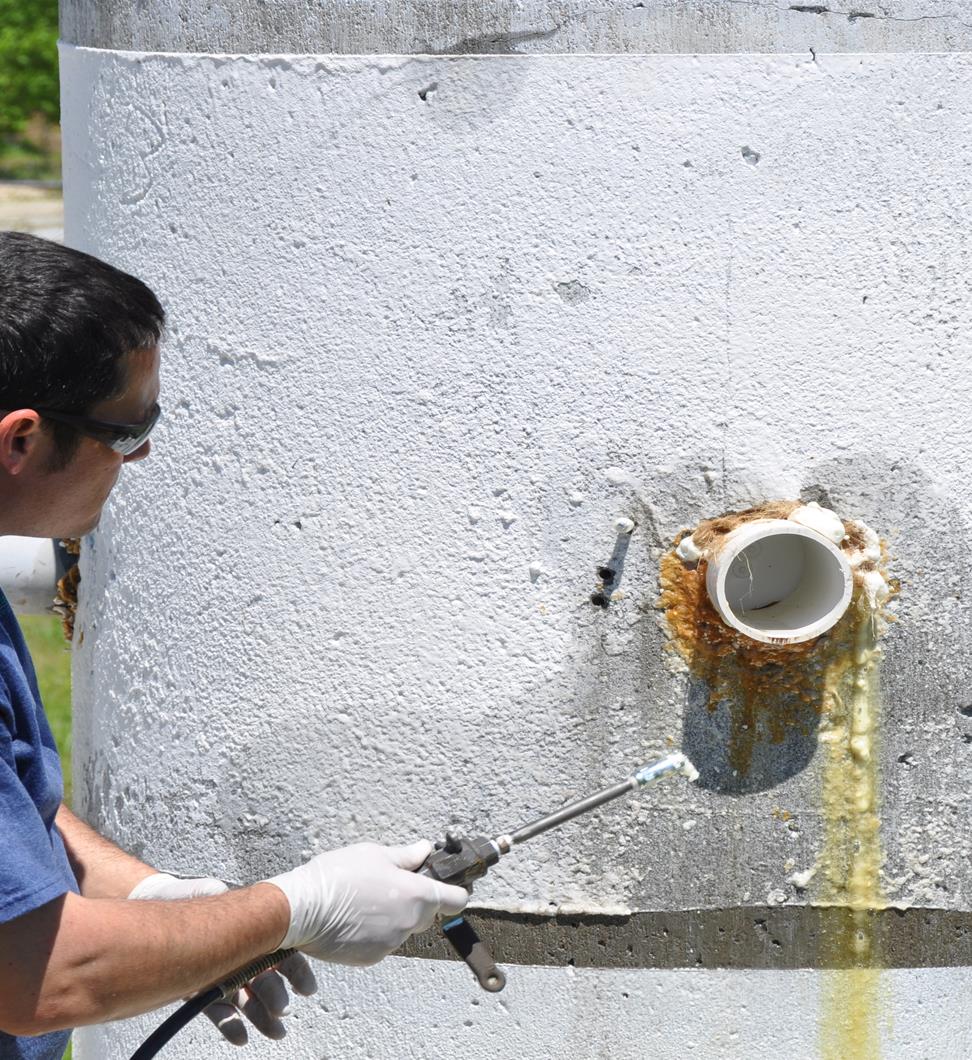
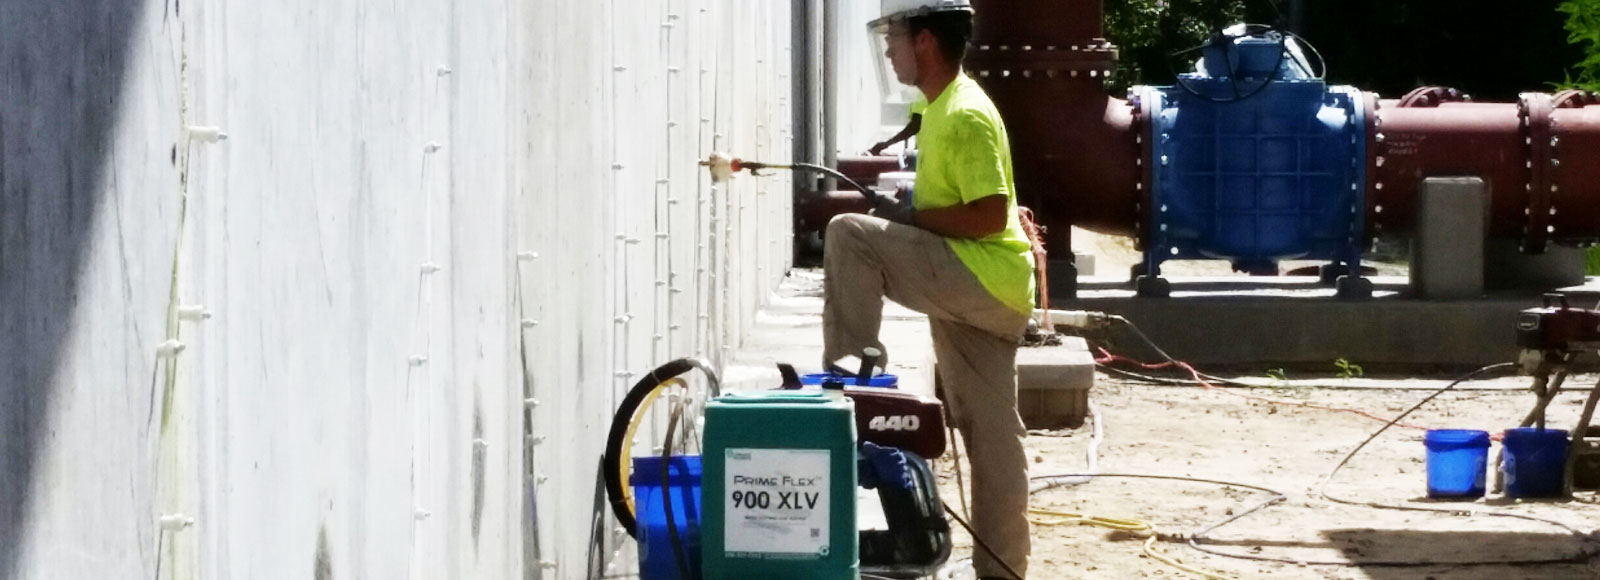
INJECT THE PRIME FLEX 900 XLV OR PRIME FLEX 940
Always wear safety goggles, chemical resistant gloves, and long sleeve shirt and pants when doing any type of pressure injection. See safety data sheet before working with any Prime Flex products. Remove the tips from all of the ports. Re-tighten the mechanical packers if necessary.
Put a tip on the first port used to flush and begin injecting Prime Flex. Patience is a must when doing crack injection. It may take several minutes to get resin flowing into the crack. Increase pressure in 100 p.s.i. increments as necessary. The lowest pressure that will get penetration should always be used, but it may be necessary to increase the pressure as high as 2,500 p.s.i. Be very careful when turning the pressures up this high, as the concrete may shear or the packer can blow out of the hole. This usually results in the technician being sprayed with grout. If grout begins to flow freely from the crack, stop injection to give the material time to activate. The crack should seal enough to begin injection again within a few minutes.
If the flow does not stop, Prime Plug (rapid setting hydraulic cement) may be necessary to plug the leak. Clean the grout off of the crack as much as possible before applying Prime Plug. It will set within a few minutes. NOTE: It is useful for a small amount of grout to drip out of the crack. That allows the technician to see how far the grout has traveled and it will seal itself up within a few minutes. Continue to pump until material has penetrated the entire distance between the first and second packer. The grout will not always visibly travel the entire distance in hairline cracks. Once the furthest point of grout travel has been obtained, move on to the next packer and repeat the process.
FLUSH THE PUMP
See “Equipment Maintenance – Flushing Single Component Pumps” for detailed information.
REMOVE THE PORTS
See “Crack Repair – Installing Injection Ports” for detailed information.
PATCH INJECTION HOLES
The injection holes should be patched with an epoxy gel (Speed Bond #1) or cementitious patching material (Prime Plug).
GRIND GROUT OFF SURFACE
Use an electric grinder with a grinding disc or a wire wheel to remove the grout from the surface. Use caution; a wire wheel can “grab” the grout and be pulled from the technician’s hands. If possible, wait 24 hours before grinding.
APPLY SURFACE SEAL
Apply a band of Prime Gel 2200 Flexible to the surface of the crack to give a more attractive look to the surface and to act as a secondary barrier. Not for use as an exterior joint sealant.
Safety Considerations:
- Always wear safety goggles when drilling, flushing, injecting, or handling resins.
- Always wear chemical resistant gloves when handling chemicals.
- Be careful of electrocution when working with power equipment in wet environments. Keep water off of electrical cords and equipment.
- Prime Plug contains cement powder which has a very high pH and may cause burns to skin or eyes. Wear protective clothing, gloves, and safety goggles.
- Polyurethane resins contain isocyanates which can cause respiratory irritation. Use mechanical ventilation in confined spaces.
- Blowouts do occur when injecting resins at high pressure. Wear protective clothing, chemical resistant gloves, and safety goggles at all times. Follow OSHA or equivalent guidelines for personal protection equipment.
Materials List (Items listed below in Bold are available from Prime Resins):
- Prime Flex 900 XLV or Prime Flex 940
- High Pressure Injection Ports (Mechanical packers or Bang In Ports)
- Prime Resins flush wand
- Prime Plug 1, 2 or 3
- Prime Gel 2200
- Speed Bond #1
- Prime Flex Eco Flush
- Empty 5 gallon pails
- Clean dry rags
- Roll of poly
- Duct tape
Equipment List:
- Rotary hammer drill
- Drill bits appropriately sized for injection port system
- Electric grinder with masonry or wire wheel
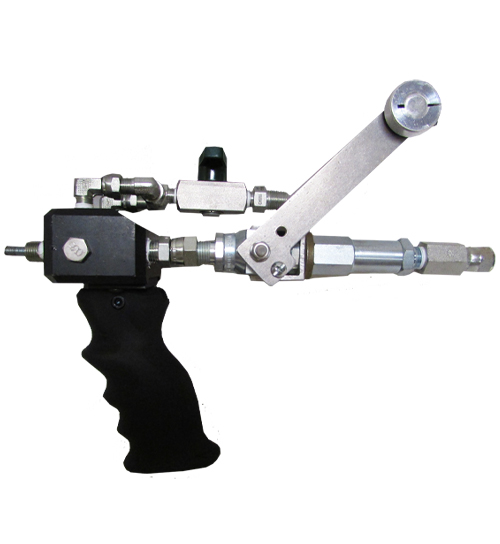
- Single component high pressure pump (Titan Impact 540 or better)
- Vice grips
- Hammer (for Bang In Ports)
- Socket wrench with 3/8” deep well socket (for mechanical packers)
- 9/32” nut driver for zerk fitting (for mechanical packers or Bang In Ports)
- Small adjustable wrench (in lieu of 9/32” nut driver)
- Safety goggles
- Chemical resistant gloves
- Tyvec suits