


Scope of Work: Sealing actively leaking 1/16” wide or wider cracks in concrete using Prime Flex 900 XLV Quick Mix cartridges.
Problem: Cracks in concrete walls (including basement walls, above- and below-grade water and sewer tanks, utility vaults, parking structures and other below-grade structures) allow water to migrate through the concrete exposing reinforcing steel to moisture––which may result in corrosion of the steel––and can result in unsightly water stains, efflorescence and spalling concrete.
Solution Steps:
• START WITH A VISIBLE CRACK
The surface of the crack may need to be cleaned with a mechanical grinder or a wire brush. Mineral deposits left by efflorescence can inhibit full penetration of the resin.
• DRILL INJECTION HOLES
See “Flushing Drill Holes and Installing High Pressure Ports” for detailed information.
• FLUSH INJECTION HOLES
See “Flushing Drill Holes and Installing High Pressure Ports” for detailed information.
• INSTALL PORTS AND FLUSH THEM
See “Flushing Drill Holes and Installing High Pressure Ports” for detailed information.
• SURFACE SEAL THE CRACK (IF NECESSARY)
Surface sealing a wet crack wider than 1/8” (.3 cm) can be done using hydraulic cement (Prime Plug 1, 2 or 3). Surface sealing a crack less than 1/8” wide may not be necessary. Once the surface of the crack has been mechanically cleaned, apply a 1/4” to 1/2” (.6 to 1.3 cm) thick band of Prime Plug to the surface 2” – 4” (5 – 10 cm) wide depending on the size of the crack. Allow material to harden for about 10 minutes before beginning the injection process.
Note: If the crack is dry, it may be surface sealed with any of the Prime Gel epoxy gel products.
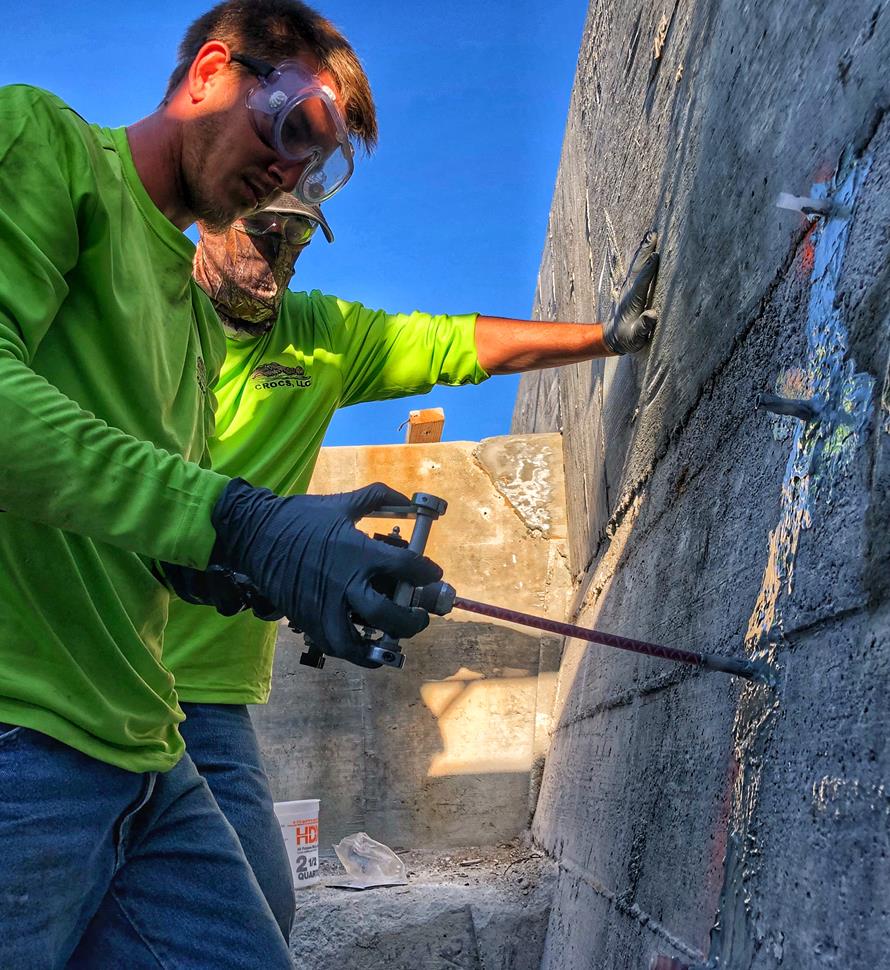
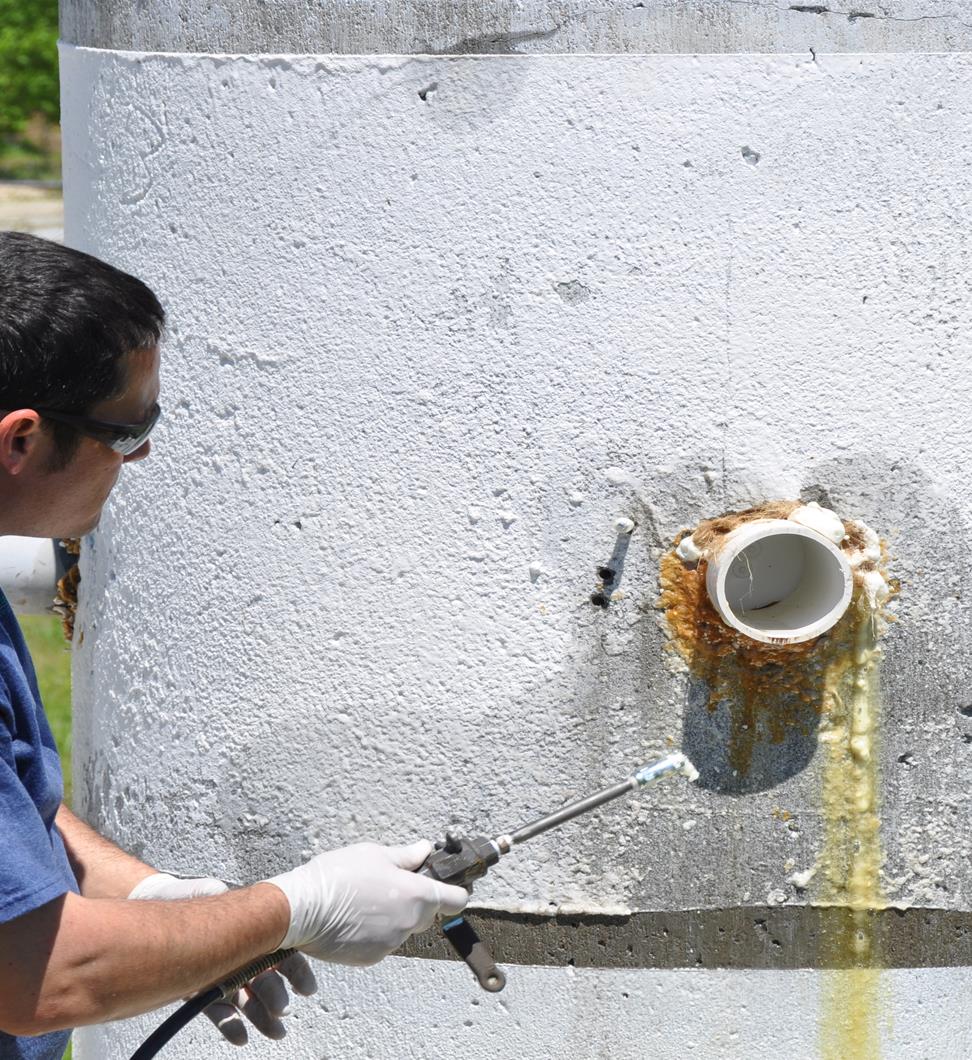
• INJECT THE CRACK WITH PRIME FLEX 900 XLV
Always wear safety goggles, chemical resistant gloves and long sleeve shirt and pants when using Prime Flex grouts. See SDS before working with any Prime Flex product.
Install the zerk fitting on the port located at the lowest point of the crack for vertical applications or the first port working from left to right or vice versa for horizontal applications.
- Fill the empty side of the Quick Mix cartridge with water and replace the plunger cap.
- Put the cartridge into the gun and install the static mixer and secure with included retaining nut.
- Install the cartridge to zerk adaptor (Part # QMC-Z) by firmly pushing the end of the static mixer into the compression seal side of the adaptor.
- Connect the zerk coupler to zerk fitting of Bang-In port.
- Pull the trigger and dispense the grout into the crack.
- Continue injecting the grout until material begins to flow from the next port in line.
- Install the zerk fitting on the second port and continue installation of material; repeat at each port location in sequence until the entire crack has been injected.
• REMOVE THE PORTS
See “Flushing Drill Holes and Installing High Pressure Ports” for detailed information.
• PATCH THE INJECTION HOLES
The injection holes should be patched with an epoxy gel (Speed Bond #1 or any Prime Gel product) or a cementitious patching mortar such as Prime Plug.
• APPLY SURFACE SEAL (OPTIONAL)
Use an electric grinder with a grinding disc or wire wheel to remove any excess grout and clean the surface. Use caution as a wire wheel can “grab” the grout and be pulled from the technician’s hands. If possible, wait 24 hours prior to performing this step. Apply a band of Prime Gel 2200 Flexible to the surface of the crack to give a more attractive look to the surface and to act as a secondary barrier. Not for use as an exterior joint sealant.
Safety Considerations:
- Always wear safety goggles when drilling, grinding, flushing, injecting or handling resins.
- Always wear protective clothing, chemical resistant gloves and safety goggles at all times when handling resins. Blowouts can occur when injecting resins at high pressure. Prime Plug contains cement powder, which has a very high pH and may cause burns to skin or eyes.
- Carefully read SDS prior to handling any chemical.
- Be aware of potential electrocution hazards when working with power equipment in wet environments. Keep water away from electrical cords and electrical equipment.
- Make sure no loose clothing can come into contact with moving mechanical equipment.
- Follow all OSHA or comparable confined space entry requirements where applicable.
- Polyurethane resins contain isocyanates, which can cause respiratory irritation. Use mechanical ventilation in confined spaces.
- Keep first aid kit (eye wash, bandages, etc.) present on site with easy access.
Materials List:
- Prime Flex 900 XLV Quick Mix cartridges
- 3/8” Bang-In ports
- Cartridge to zerk adaptor
- Prime Plug 1, 2 or 3
- Prime Gel epoxy adhesive (optional)
Equipment List:
Rotary hammer drill
3/8” drill bit (of appropriate length)
Electric grinder with masonry or wire brush wheel
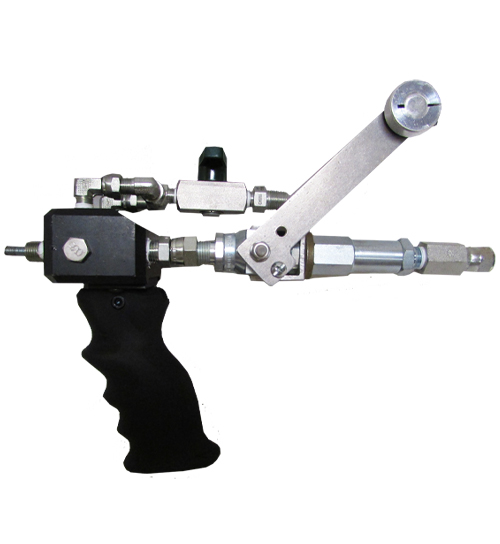
1:1 / 2:1 ratio manual cartridge gun #725 or air gun #700
Vice grips
Hammer
5/16” nut driver for zerk fitting
Related Documents: